Camera views
The vertical strip of icons down the right edge of the 3D viewer. Each button snaps the camera to a standard angle, and two of them let you show or hide an arch. It only moves the camera — your plan is never touched.
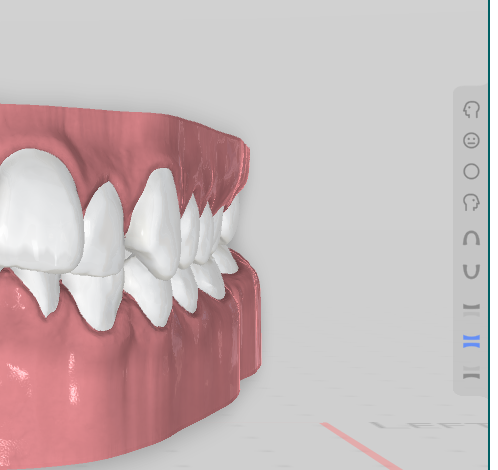
Where it is
Down the right side of the 3D viewer, on every step.
The view buttons
Each button tilts the camera to a fixed angle so you don't have to drag the model into place:
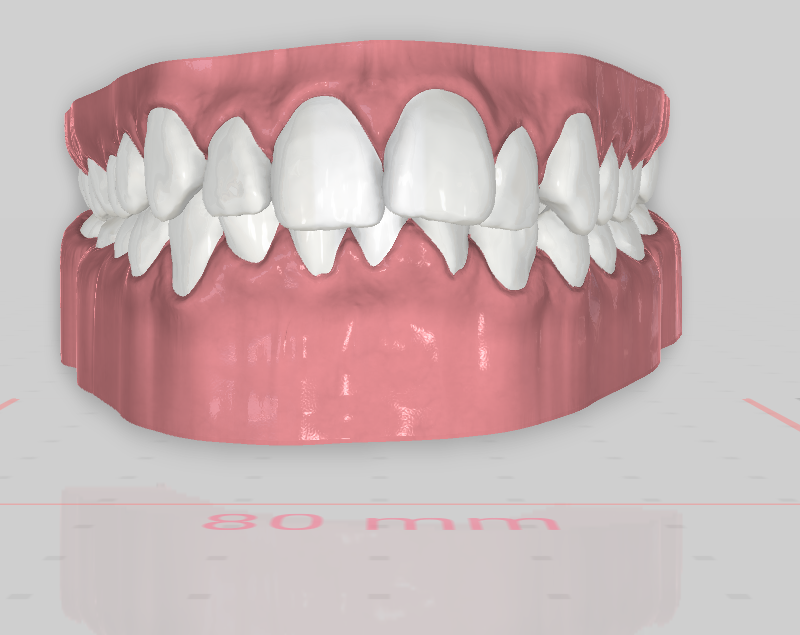
- Front — look at the teeth from the front.
- Back — look from behind (the tongue side).
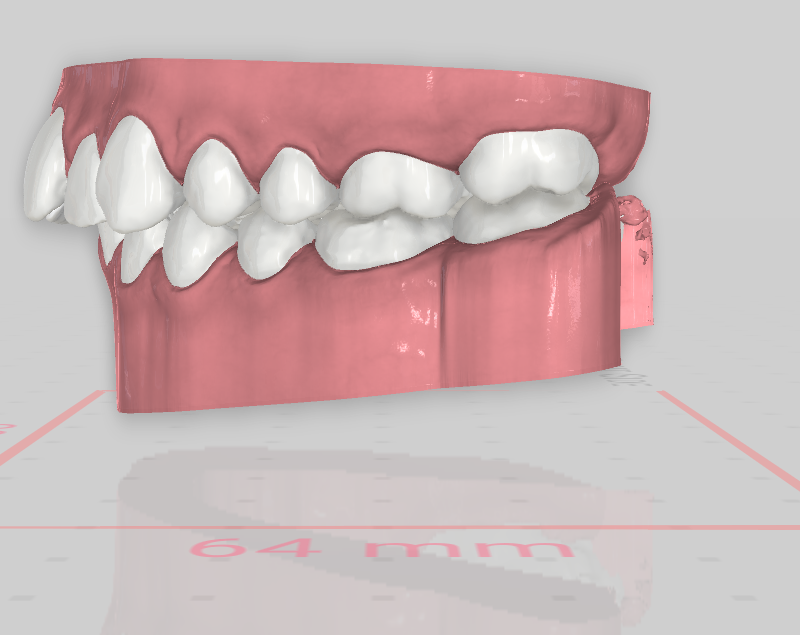
- Right — look from the right.
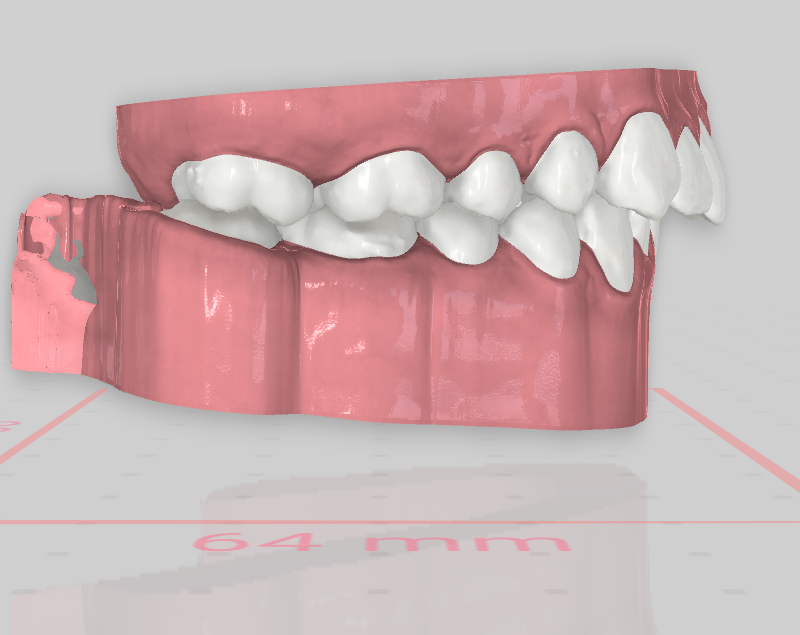
- Left — look from the left.
- Top — look straight down at the upper arch.
- Bottom — look straight up at the lower arch.
- Perspective — the default 3/4 angle.
There are also a few angled framings — diagonal views of each arch and an overjet view that lines up the bite — for a quick look at how the arches meet.
The same model from the Front, Right and Left buttons:
Show upper / lower arch
Two toggles hide one arch so you can see the other on its own. Turn them both on to see the full bite again.
Good to know
- The bar only moves the camera and shows or hides an arch. Your plan is untouched.
- It's on every 3D step, always in the same place.
- Choosing Perspective brings both arches back.