Follow and approve a planning
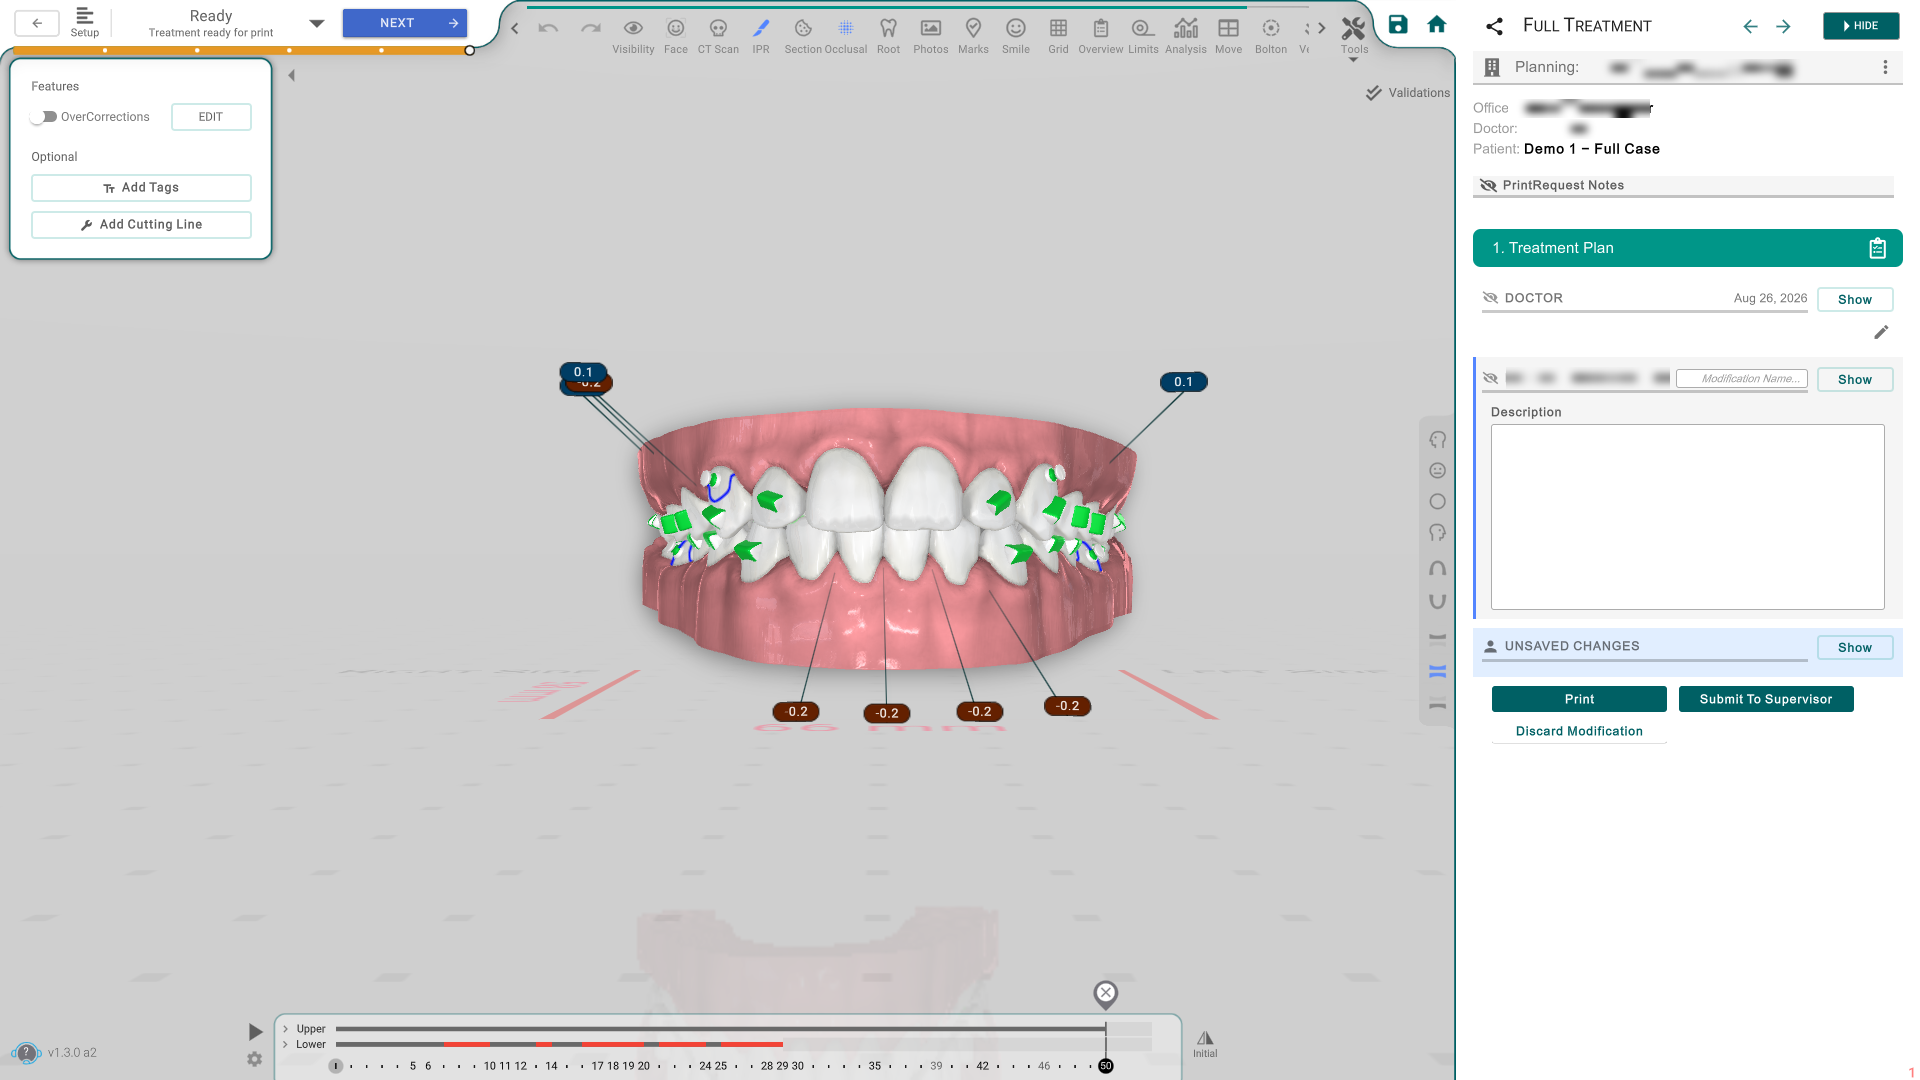
The planning panel is where you follow an existing plan and resolve it. It opens next to the 3D view and shows the plan's status (whose turn it is), the lab's version cards and their notes, and a set of buttons that move the plan through its stages.
Open a planning
Open a planning from the Planning list on the Doctor Dashboard, or from a planning card on the patient's dashboard. A draft opens the creation form instead (see Create a planning order).
Follow and act on the plan
- Read the status to see whose turn it is and what stage the plan is at.
- Open a version card to see the lab's work — its title, description and notes.
- Use the buttons at the bottom to act on the plan. Depending on the stage and your role, these can include Approve, Request More Changes, Submit, Print, Order More Aligners, Discard or Delete.
- Use the ⋮ menu for the rest — share the plan, print a patient statement, or delete the order.
Tips
- The buttons you see depend on your role and the plan's current stage — a plan at a different stage shows a different set.
- Rejecting or archiving a plan the lab already worked on can be charged. A plan the lab returned because the scan was unusable costs nothing if you reject it.
- A rejected plan can't be printed.
- Some buttons stay disabled until the plan is complete — you can't create an order or print until it's ready, and Print waits while an STL export is in progress.
- If there are no buttons at all, the panel is read-only (a shared link, or a plan locked to another lab).