Staging
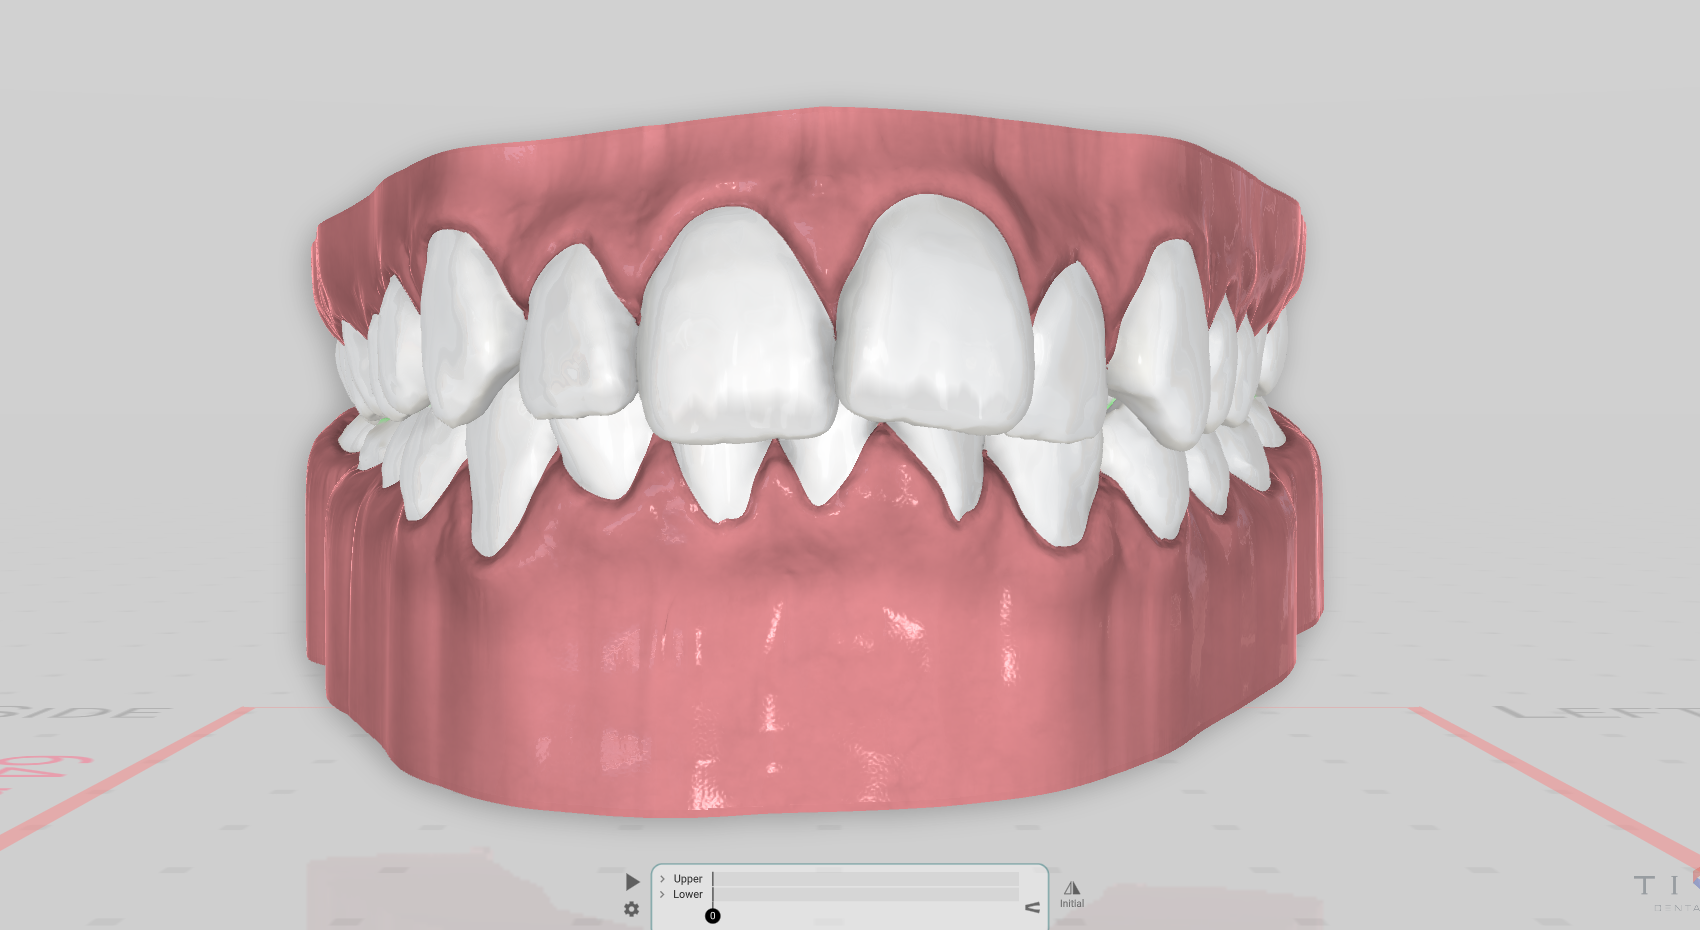
This is where the planned tooth movement is split into aligner steps. Setup puts the teeth at their final position; Staging sequences how they get there, one step at a time, for the upper and lower arch. A step timeline runs along the bottom of the viewer so you can scrub through the steps and watch the teeth move.
Open it
In the 3D View, the Staging step, right after Setup. It is the step a plan usually opens in.
The step timeline
The timeline along the bottom of the viewer is where the aligner steps live:
- Upper and Lower rows — the maxilla and mandible each have their own row of steps.
- Play / scrub — press play to run through the steps, or drag the time slider to jump to any step and see the teeth at that point.
- Initial and step markers — the Initial marker is the starting position; each later marker is one aligner step, and the current-step indicator shows where you are.
Auto-staging settings
The settings gear on the timeline (the same panel as Auto Staging on the side panel) computes the steps for you:
- Timing — the Start and End movement modes that decide how the arches begin and finish (for example all teeth together, or sequential).
- Synchronize — line the start and end of the two arches up.
- Collisions — fix mid-treatment collisions between steps.
- Speed — apply the ideal movement speed, or expand movements that are unsafe at the current speed.
- Apply AutoStaging — write the computed steps onto the timeline.
The side panel also has the Select Teeth buttons (3-3, 4-4, 5-5, All, Anteriors, Posteriors) to pick a range to work on, an Arch setup tool, and a Refinement entry.
Good to know
- You can only move teeth in Staging, Setup and the over-corrections step; the other phases are view-only for the timeline.
- The Staging controls need the edit permission; without it the panel is greyed out.
- The timing modes are stored on the selected treatment, so pick a treatment before changing them.