Select Face Scan
This is where the Face Scan workflow starts: pick which of the patient's face scans to work on. If the patient has only one, Titan selects it for you automatically — so you'll see this list mainly when there's more than one face scan.
Open it
Open a patient's treatment in the 3D View and start the Face Scan workflow. The first step is Select Face Scan, shown in the panel on the left.
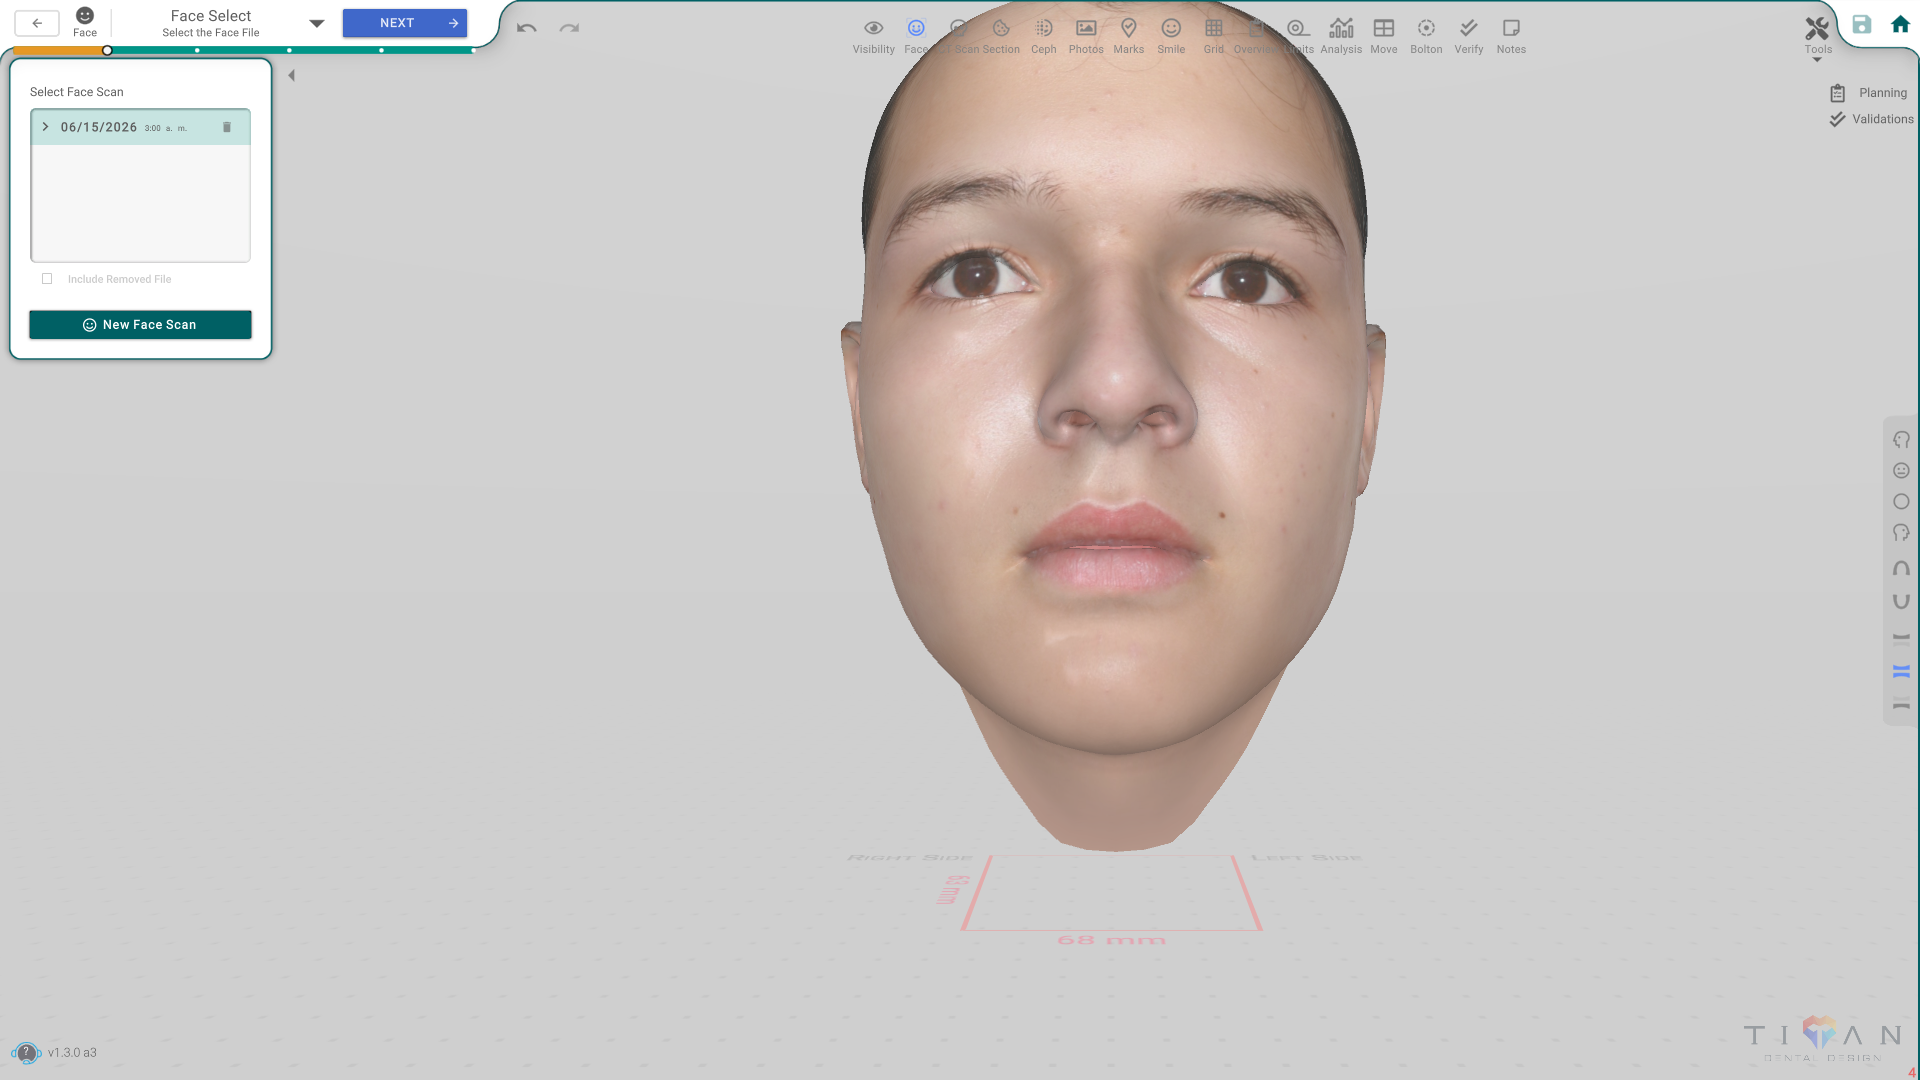
The panel, control by control
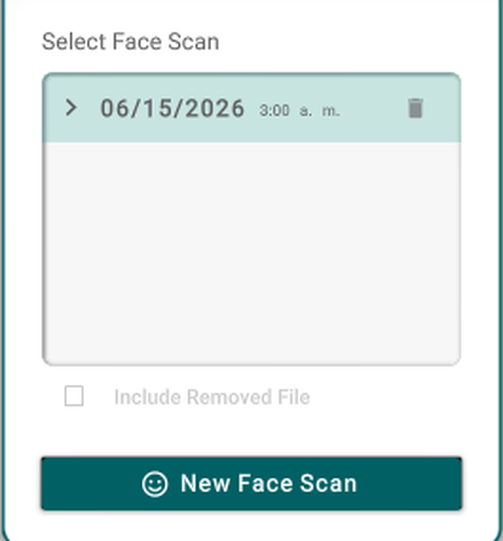
- The face scans list — the patient's face scans. Click one to select it.
- Include Removed File — also shows deleted face scans in the list.
- New Face Scan — starts a brand-new face scan.
Good to know
- With a single face scan on file, Titan selects it and moves on automatically.
- The face you select here is the one you'll load, mark with landmarks, align and compare against norms in the rest of this workflow.