Indirect Bonding
Indirect bonding places brackets on the teeth with a transfer tray instead of one at a time. When you select an indirect bonding in the Attachments step, its panel opens with four tabs — Setup, Tunnel Attachment, Aligner and Transfer tray. What indirect bonding is for clinically is covered in the indirect-bonding manual; this page is about running the panel.
Open it
In the 3D View, go to the Attachments step and select an indirect bonding. The panel's tabs switch the body; Back at the top returns to the Attachments panel.
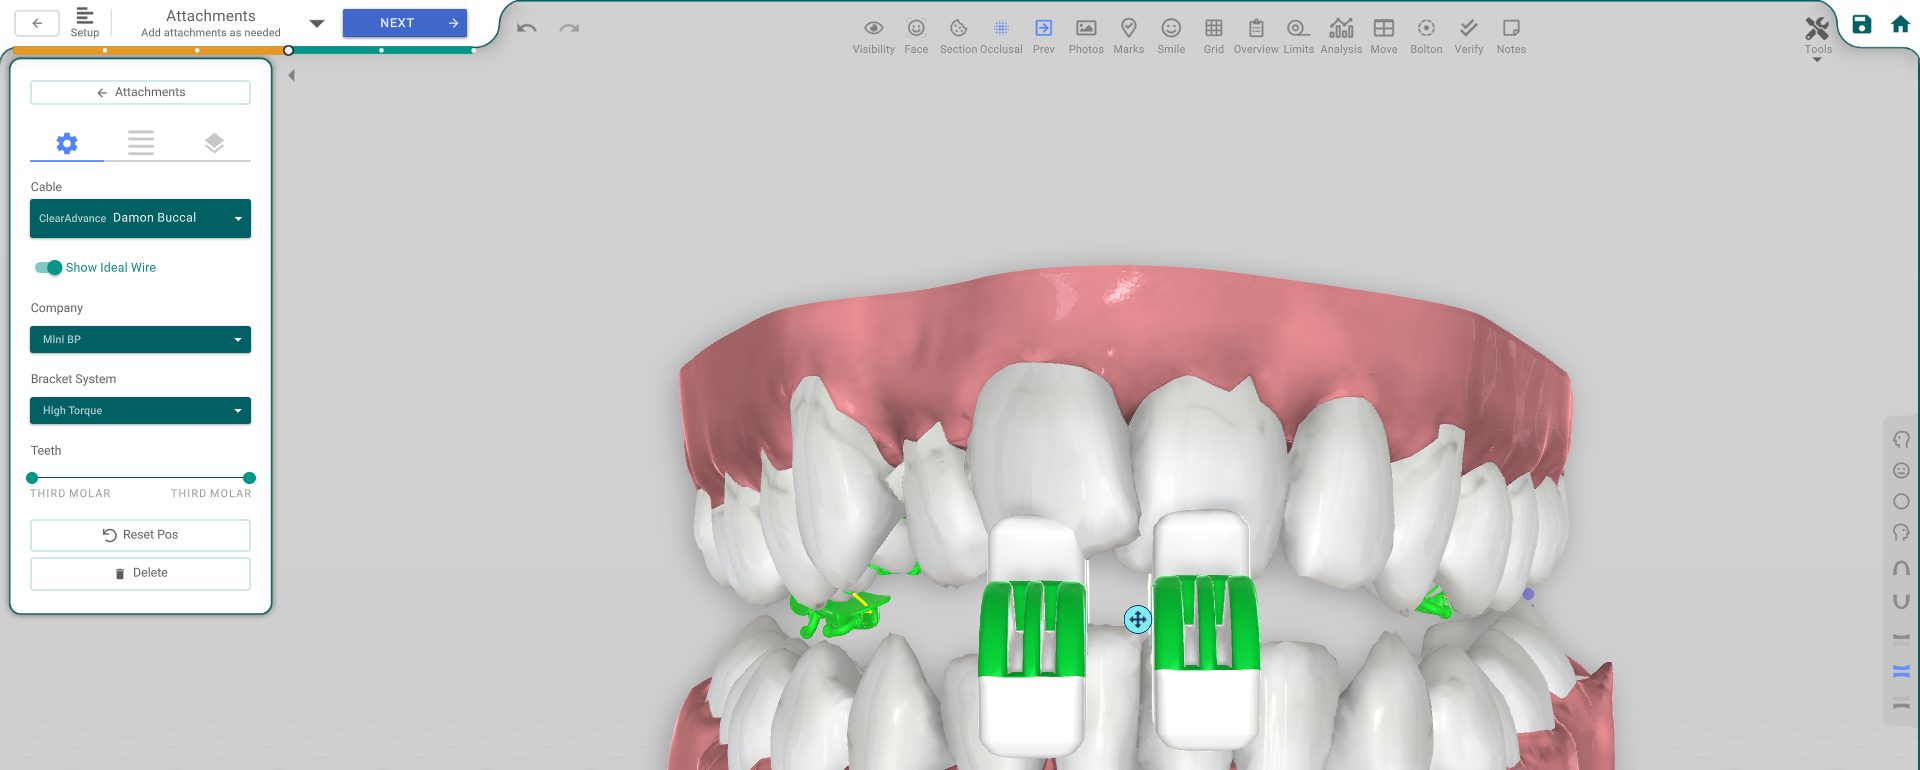
The tabs
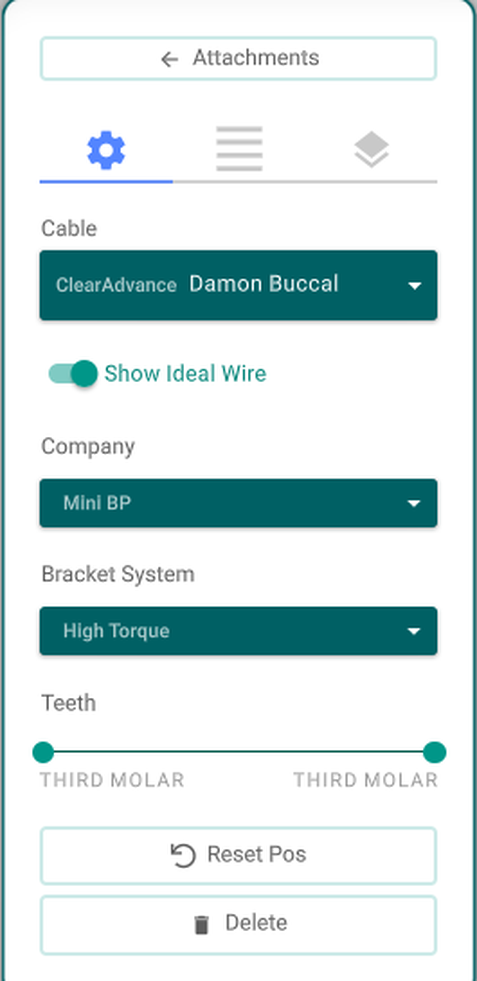
- Attachments (Back) — returns to the Attachments panel.
- Setup tab — the Cable, Show Ideal Wire, the Company and Bracket System (with Download STL for the self-print company), the Teeth the bonding covers, and Reset Pos / Delete. Click one of the bonding's brackets to open its own panel — company, system, model, rotation and, for a Tunnel Attachment anchor, its size.
- Tunnel Attachment tab — the Tube and Anchor sizes and the Tube Guides. Appears only for tunnel-attachment systems.
- Aligner tab — the aligner range the bonding is present for, and the Wire Cover and Wire Side guides.
- Transfer tray tab — the tray style (3 Sections or Single Piece), its thickness and coverage (Half or Full bracket), and Generate preview / Hide preview to see the tray on the arch.
Good to know
- Several tabs can only be edited on the bonding's last aligner; on another step they show dimmed under a banner whose button jumps you there.
- The transfer tray is built on the first aligner only. Its preview goes out of date when you change a setting — press Generate preview again.
- The controls are greyed out without the treatment-edit permission.