Wax Up
The Wax-Up step cleans up the printed model for printing — it blocks out undercuts and fills the gaps between the teeth so the finished aligner fits snugly. It's one of the printing steps ("Block Outs and Postprocessing").
Open it
In the 3D View, go to the Wax-Up step, one of the printing steps.
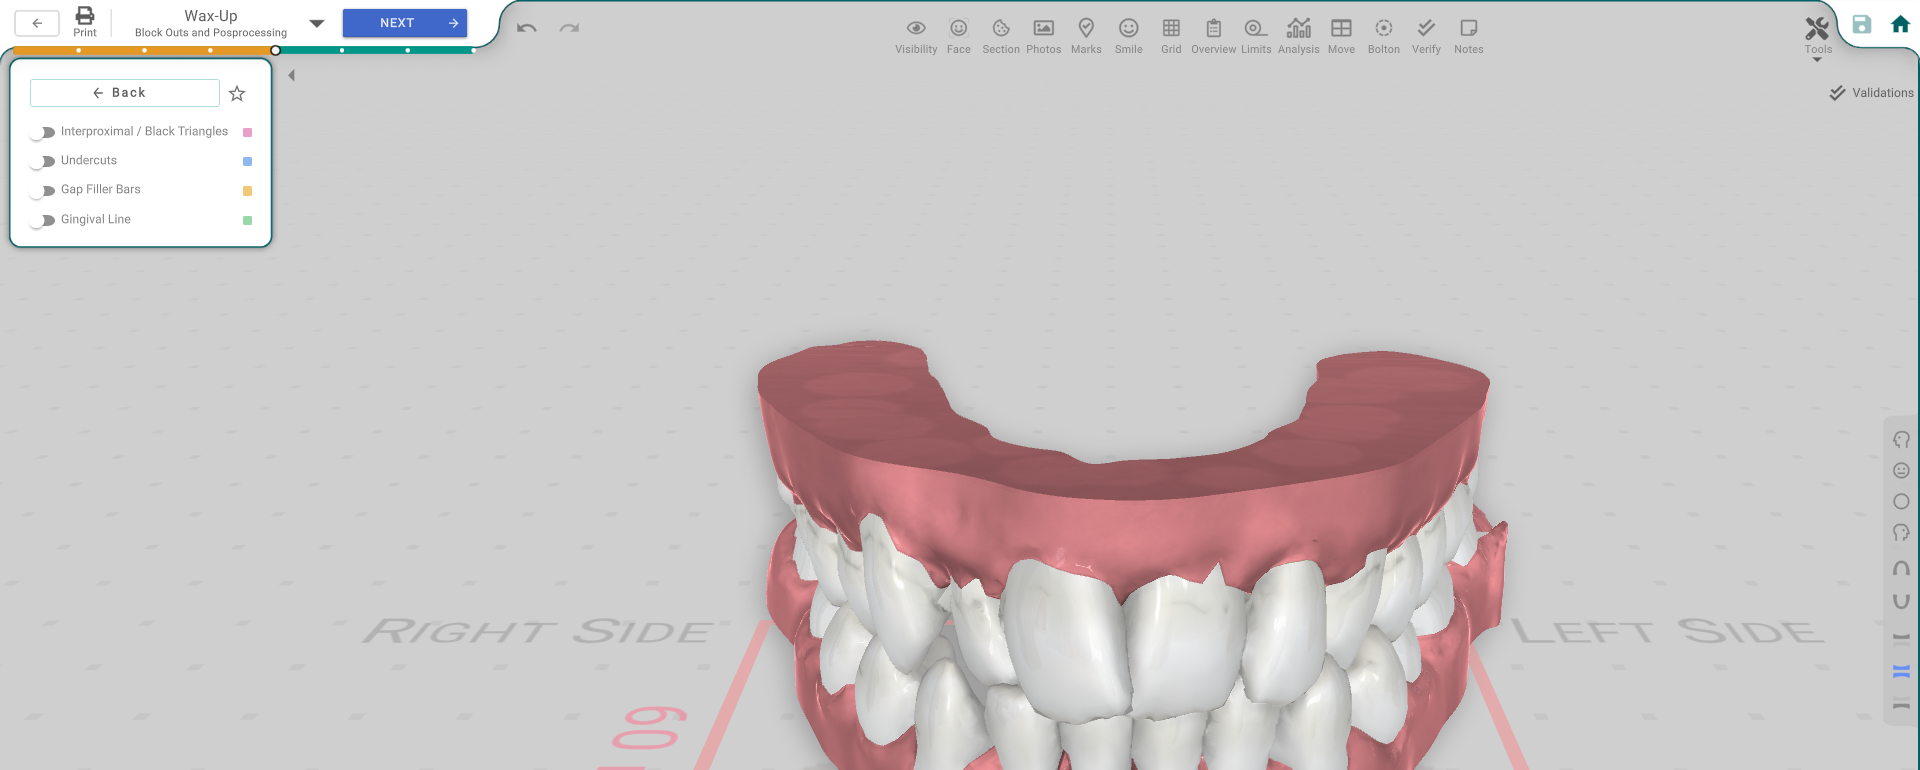
The waxing toggles
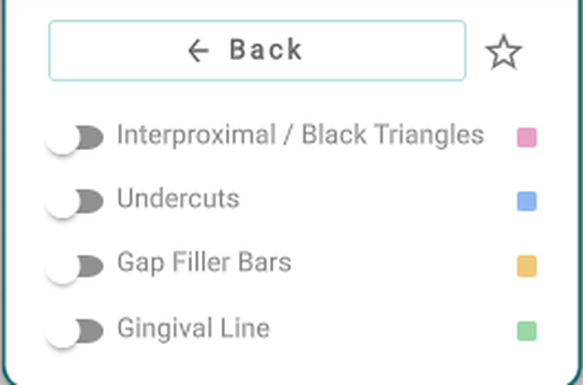
The panel has four colour-coded toggles, each turning on one kind of waxing and opening its own sliders:
- Interproximal / Black Triangles — fill the gaps between the teeth; set the Interproximal Amount and whether to skip gaps that already have a filler bar.
- Undercuts — block out undercuts so the aligner can seat; set the band height, depth and wall angles.
- Gap Filler Bars — add bars across the gaps; set the Filler Width.
- Gingival Line — wax along the gum line.
One gap at a time
You can also select a single gap and set just its Gap Interproximal or add a Gap Bar. Gap Reset resets that gap, Gap Apply All copies it to every interproximal, and Clear Overrides removes all the per-gap tweaks.
Good to know
- Each toggle opens its own sliders when you turn it on.
- Gap Apply All sets every gap to the same value; tweak one afterwards if you need to.