Attachment
When you select a single placed attachment in the Attachments step, its own panel opens — the shape, the size, the surface, the material, the aligner range and the tools. This is where you fine-tune one attachment after placing it. For what attachments are and when to use each shape, see the attachments manual; this page is about the panel for one selected attachment.
Open it
In the 3D View, go to the Attachments step and click a placed attachment. The Attachment panel follows the selected attachment.
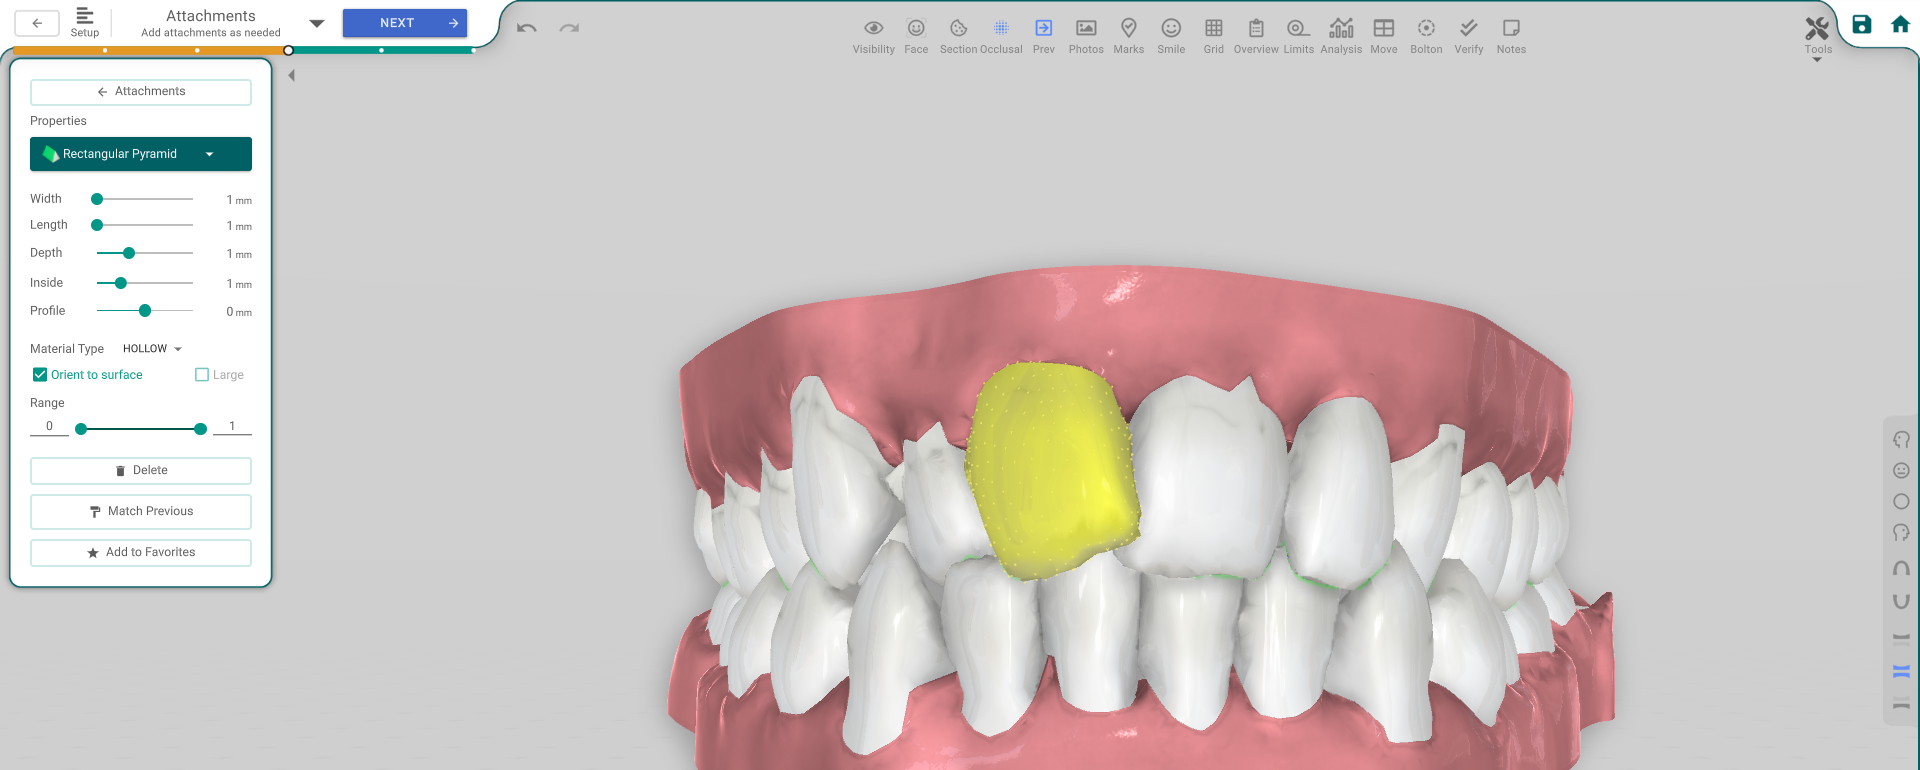
The panel, button by button
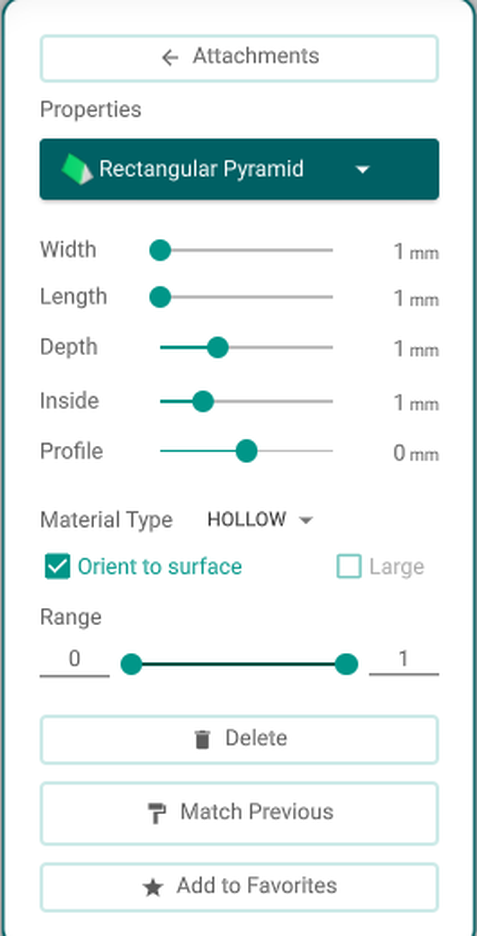
- Attachments (Back) — returns to the Attachments panel.
- Shape picker — pick the attachment's shape.
- Width / Length / Depth / Inside / Profile — size sliders; Width, Length and Depth stop at the maximum allowed for the shape. A Lingual / Buccal switch appears here too if the shape offers a surface choice.
- Material Type — Hollow / Solid / Visual — how the attachment is produced.
- Orient to surface — lays the attachment flat against the tooth.
- Large — uses the shape's large variant.
- Range — the aligner range the attachment is present for, set with the start/end fields or the slider.
- Delete — removes the attachment (or press the Delete key, unless you're typing in a field).
- Match Previous — copies the settings of the attachment you edited before.
- Add to Favorites — saves the attachment so you can reuse it.
Good to know
- The shape and size rows grey out while the attachment is locked.
- The controls are greyed out without the treatment-edit permission.
- To move an attachment (including a bite ramp) to a different spot on the tooth, click and drag it in the 3D view.