Photo Gallery
The Photo Gallery holds a patient's photos and X-rays. To open it, click the picture under Photos or X-rays on the patient's rail. From here you arrange the images in the standard clinical slots, import new ones, and edit each photo.
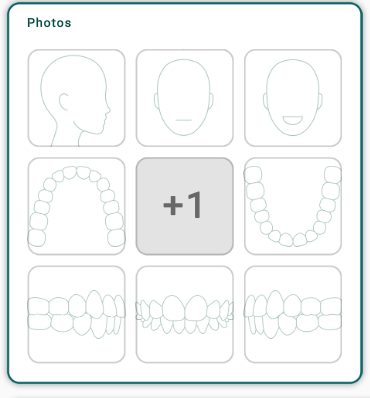
Arrange the photos
The layout buttons at the top choose how many photos show at once:
- 1 — a single photo, large.
- 2 — two side by side.
- 4 — the X-ray four-up.
- 9 — the 3×3 clinical grid: three facial photos, the intra-oral occlusals, laterals and frontal, and the patient's information in the center. This is the default.
Double-click a photo to zoom into it; double-click again to go back to the grid.
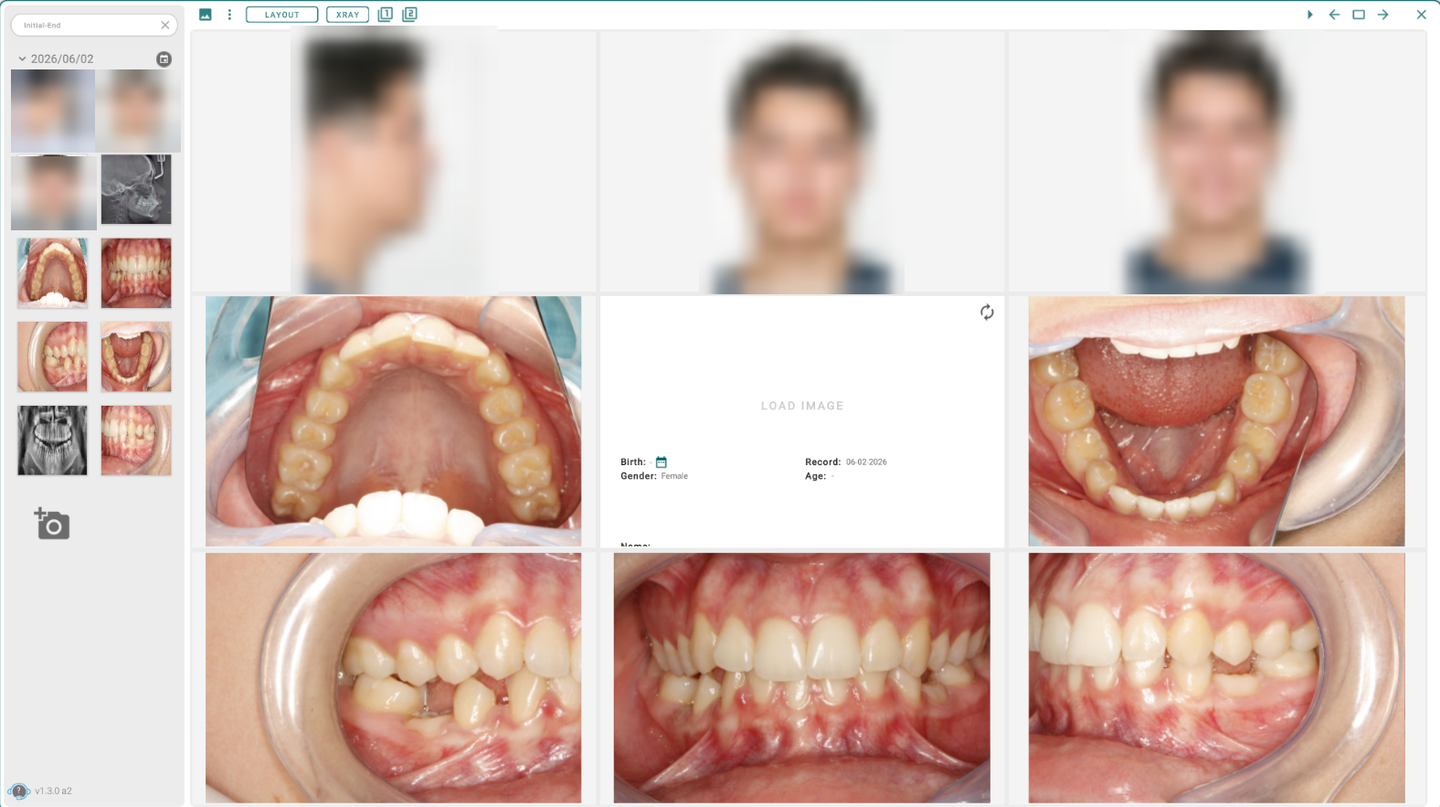
Import photos
- Click the add photo button in the left panel, or the + on an empty slot.
- Pick an image file (PNG or JPG), or take one with the camera.
A photo imported while a slot is selected takes that slot's category, so it lands in the right place in the grid.
Edit a photo
Open a photo's tools to adjust it:
- Crop — drag the eight handles around the edges and corners, then Apply.
- Rotate — use the 90° buttons or the slider for a fine angle, then Apply.
- Brightness / Contrast — move the two sliders, then Apply.
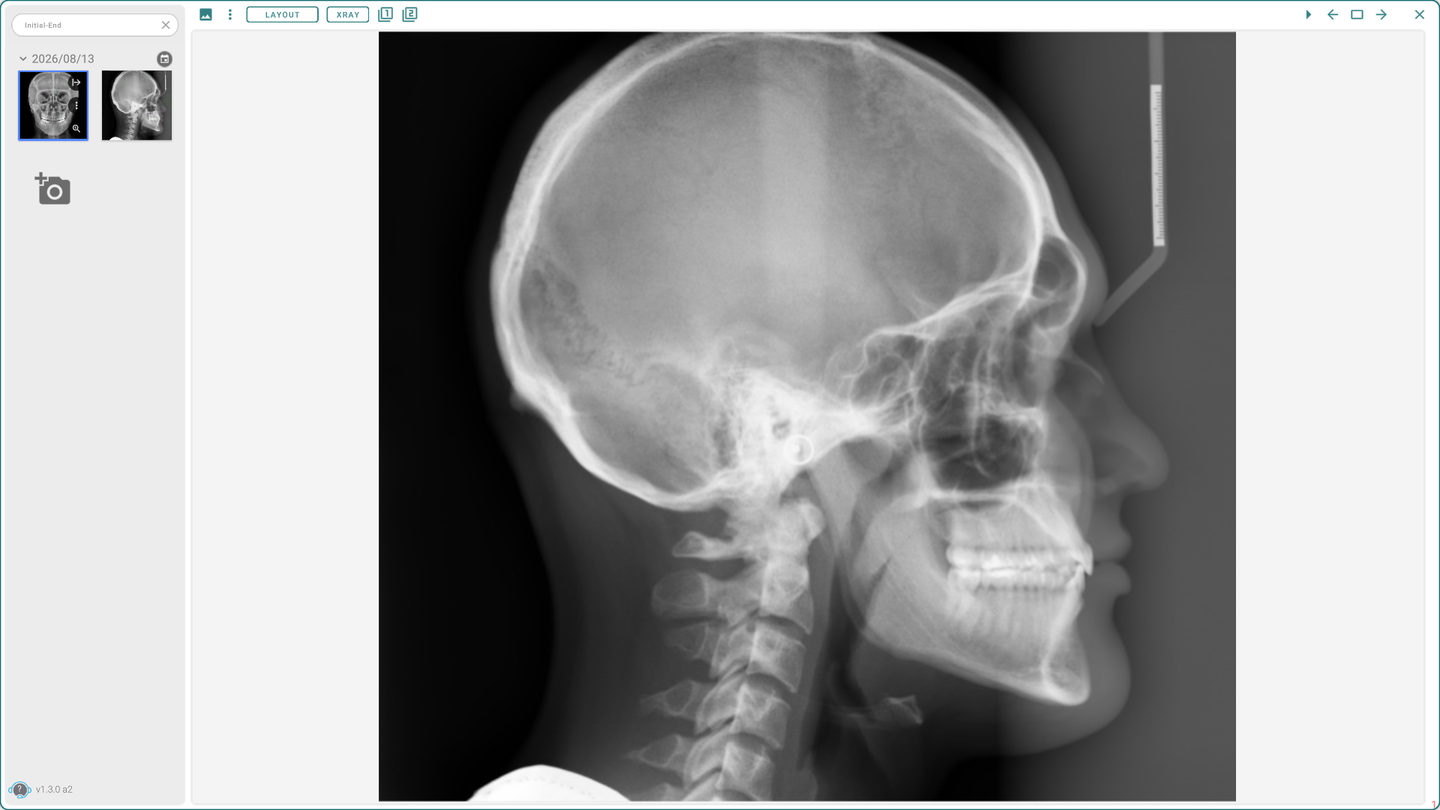
Analyze a photo or X-ray
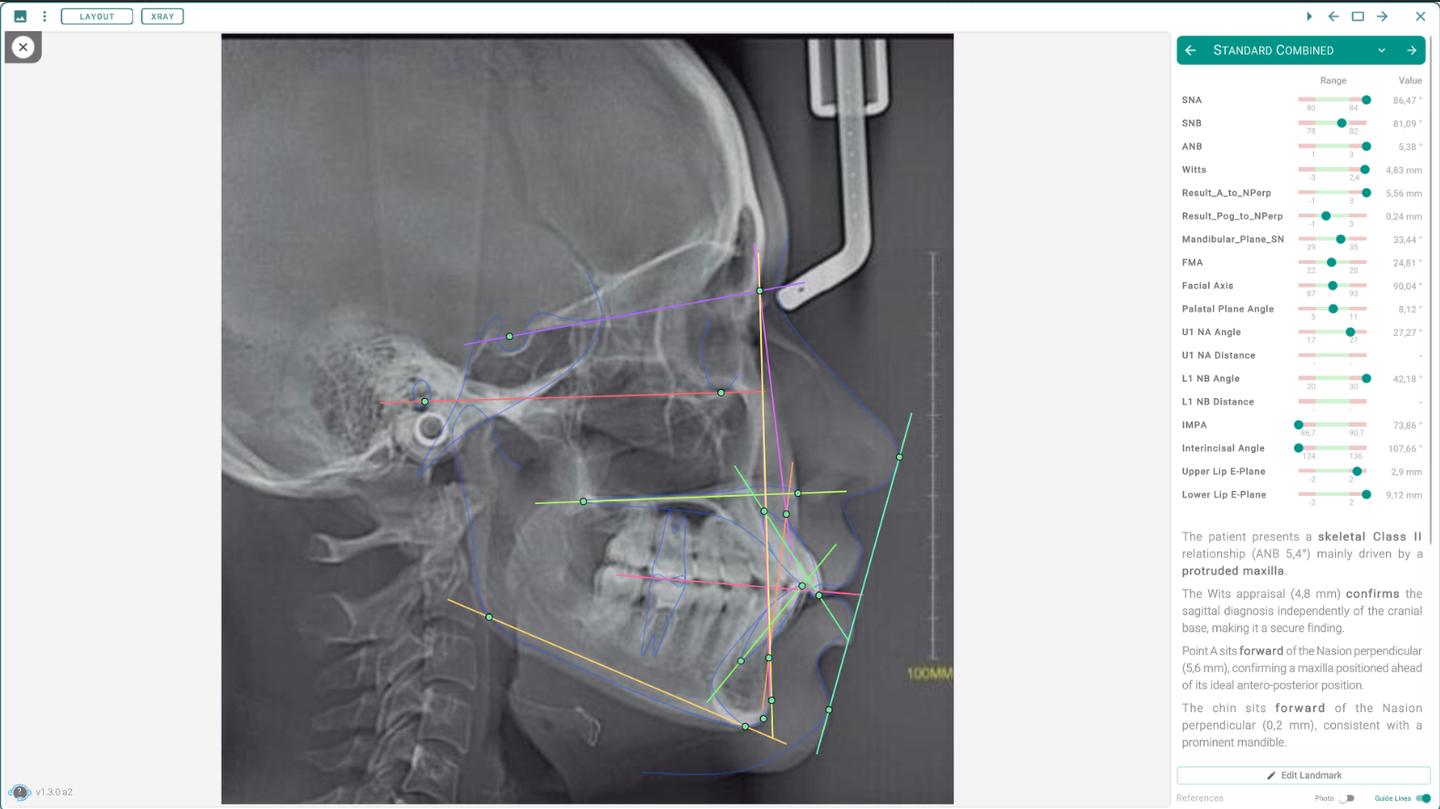
From the gallery you can run an analysis on an image. Open a photo or X-ray and use the Analysis tool on its toolbar. The tool appears only for images that support an analysis — your X-rays and your facial photos.
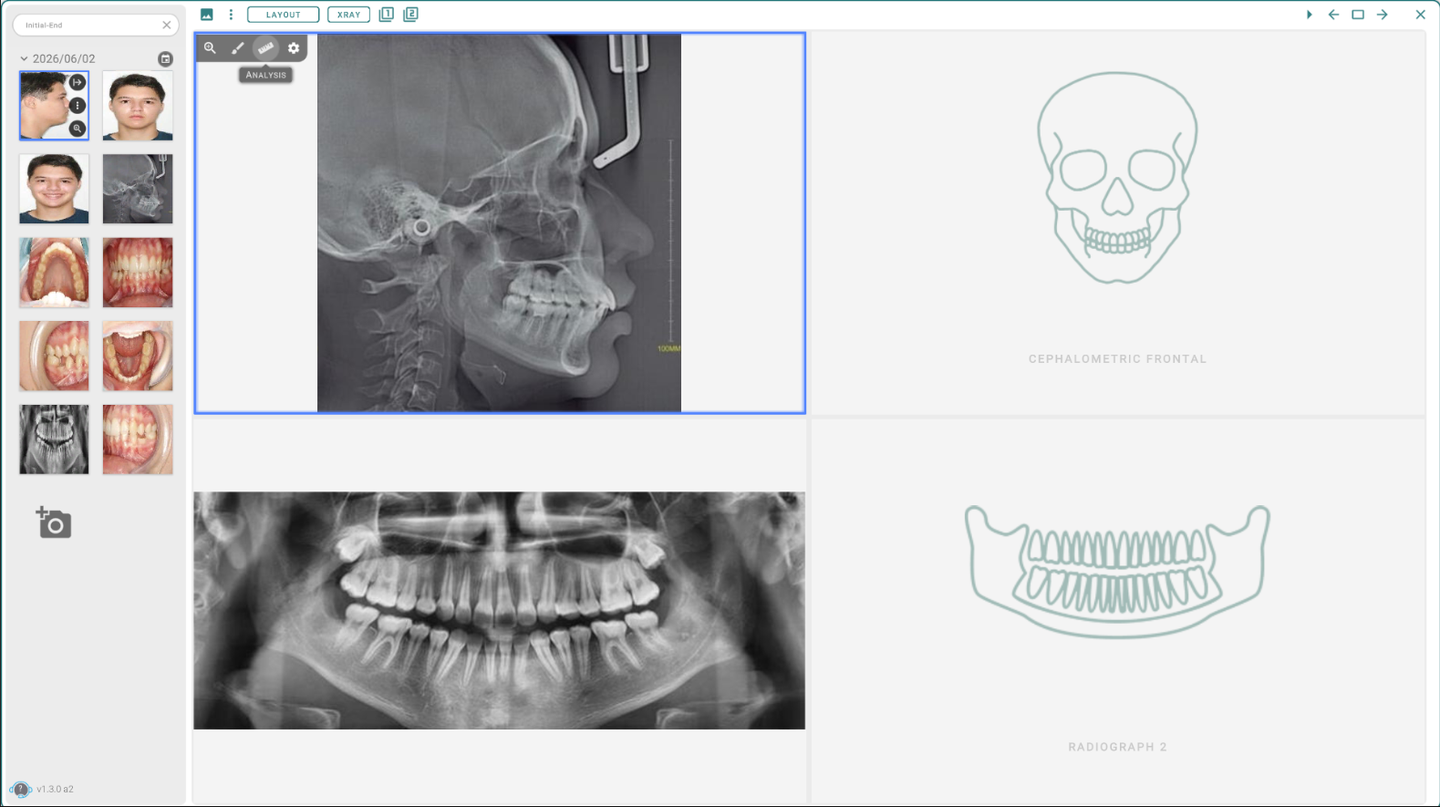
- On an X-ray you run a skeletal (cephalometric) analysis — for example Standard, Steiner, Ricketts, McNamara, Kim, Tweed, Downs, Wits, ABO, Eastman, and the frontal analyses.
- On a face photo you run a facial analysis of the profile and frontal proportions and symmetry.
The analysis lays its lines and points over the image and shows each measurement against its normal range, with a short written summary.
Good to know
- Only PNG and JPG images can be imported.
- Cropping or rotating a photo changes its shape, so Titan asks you to re-enter that photo's landmarks and calibration afterward — brightness and contrast don't.
- Photos save on their own; you don't need to save before closing the gallery.
- New photos from a checkup or a refinement start a new, dated group — they don't replace or delete the earlier ones.
- To delete a photo, open it, go to Settings, and click the trash icon.
- The header ⋮ menu has extras: download all photos, create or separate a composite, or convert photos to a face scan.