Staging
This is where the planned tooth movement is split into aligner steps. Setup puts the teeth at their final position; Staging sequences how they get there, one step at a time, for the upper and lower arch. The Timeline along the bottom of the viewer is where you do this — this page is about the Staging step itself; the Timeline bar's own anatomy and actions (keyframes, Micro Staging, Synchronize) have their own page.
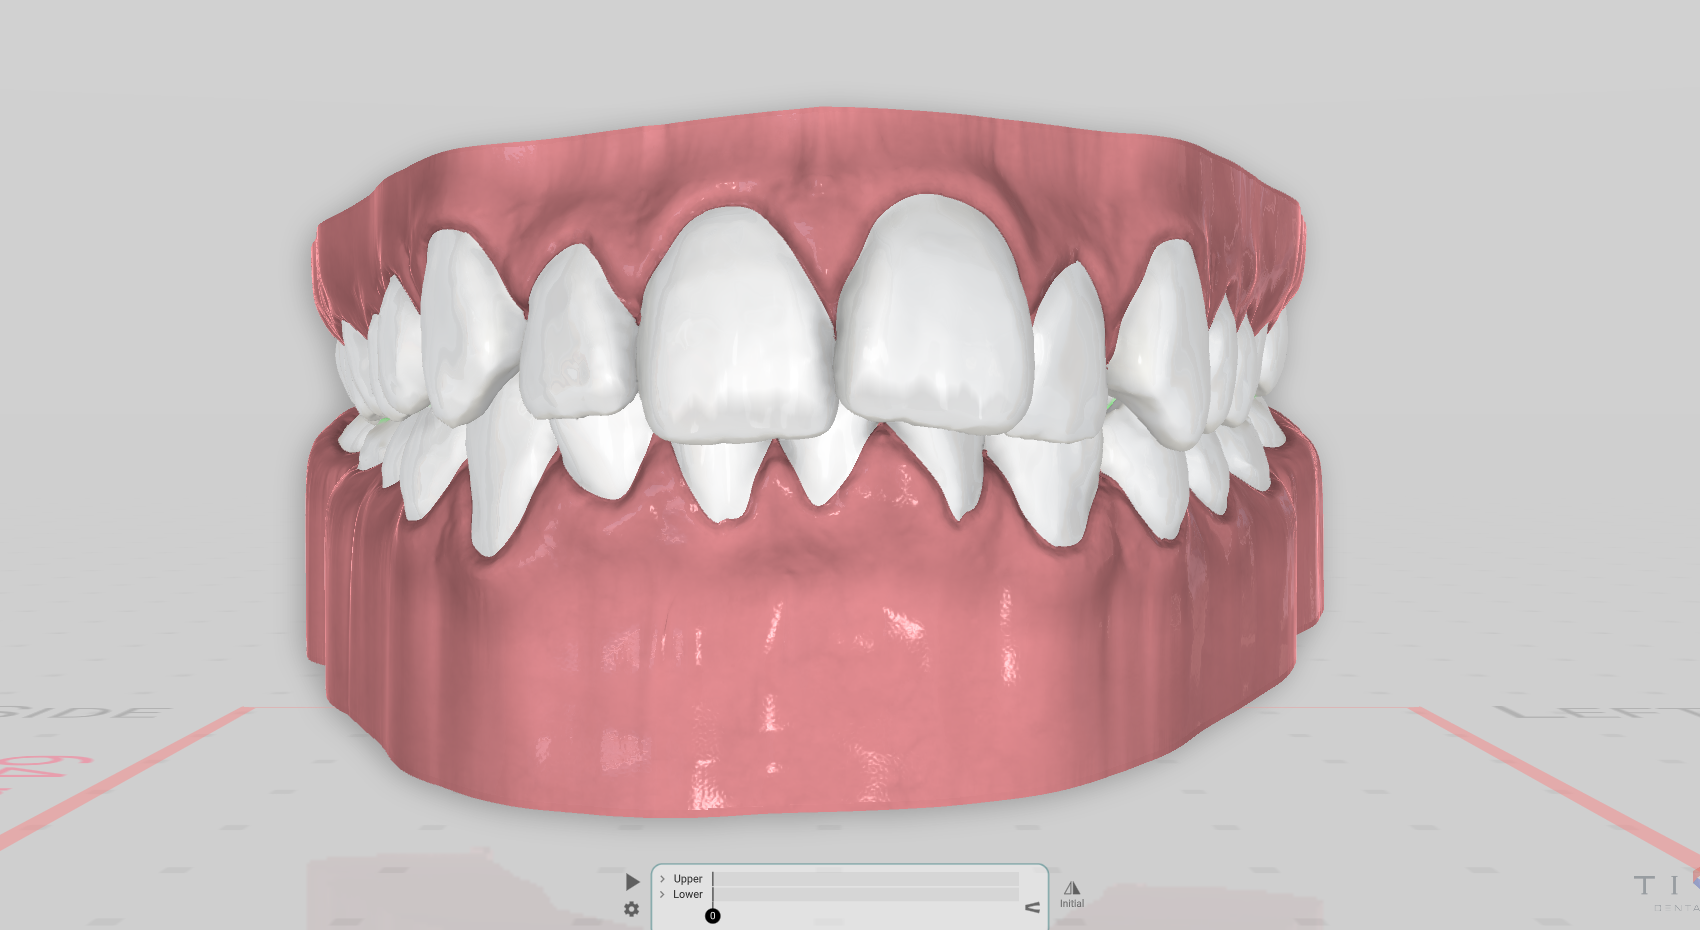
Open it
In the 3D View, the Staging step, right after Setup. It is the step a plan usually opens in.
Auto-staging settings
The settings gear on the Timeline (the same panel as Auto Staging on the side panel) computes the steps for you — Timing, Collisions and Speed. See Auto Staging for every control.
The side panel also has the Select Teeth buttons (3-3, 4-4, 5-5, All, Anteriors, Posteriors) to pick a range to work on, an Arch setup tool, and a Refinement entry.
Fine-tuning the movement
For the Timeline's own controls — adding, dragging and deleting keyframes, the Synchronize toggle, and Micro Staging (breaking a tooth's movement into its six axes) — see Timeline.
Good to know
- You can only move teeth in Staging, Setup and the over-corrections step; the other phases are view-only for the timeline.
- The Staging controls need the edit permission; without it the panel is greyed out.
- The timing modes are stored on the selected treatment, so pick a treatment before changing them.