Precision Cuts
A precision cut is a cut-out or opening in the aligner — a slot, hole or hook — for elastics, buttons and other auxiliaries. You add a precision cut from the Attachments step, and when one is selected its own panel opens: the aligner range, an Edit Spline toggle, the measures for its shape, and the tools. What a precision cut is for clinically is covered in the precision-cuts manual; this page is about running the panel.
Open it
In the 3D View, go to the Attachments step. Place a precision cut from the shape picker's menu (the "Indirect Bonding" section), or click a precision cut already on the model. The Precision Cut panel follows the selected cut.
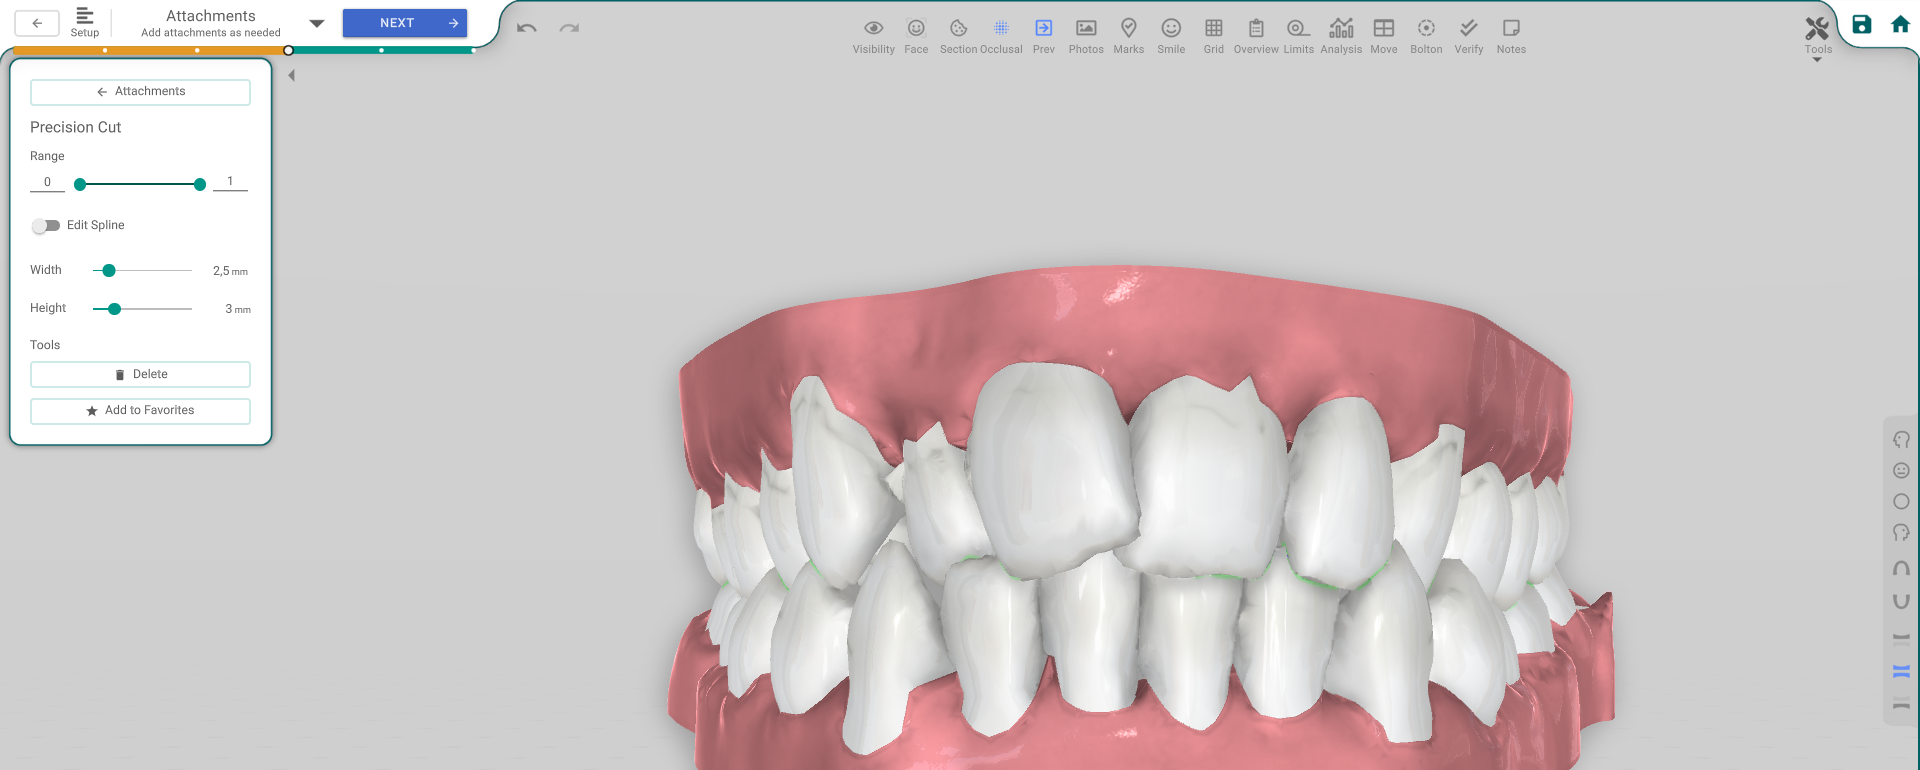
The panel, button by button
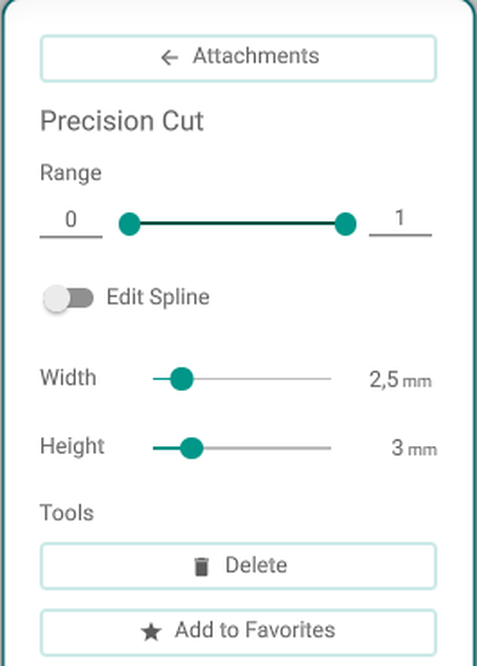
- Attachments (Back) — returns to the Attachments panel.
- Range — the aligner range the cut is present for.
- Edit Spline — reshape the cut by dragging its outline points directly. Turn it off to set the shape by its measures with the sliders below (hidden while Edit Spline is on).
- Width / Height (or the shape's own measures — only the block for the cut's current shape is shown: Cut has Width/Height, Square adds Angle, Anchor has Length/Inclination and a Mesial Direction switch, Hole has Radius, Slit has Width/Length).
- Delete — removes the cut (or the Delete key, unless you're typing in a field).
- Add to Favorites — saves the cut so you can reuse it.
The tools are locked while the cut starts inside an already-printed, locked aligner range.
Good to know
- The controls are greyed out without the treatment-edit permission.
- A precision cut becomes part of the aligners and is carried into the printing phases with the other attachments.