Trim Guide Label
When you pick one of the custom labels on a trim guide, its own panel opens — the label's text and how its font is embossed.
Open it
In the 3D View, go to the Guide step and select a label on the trim guide.
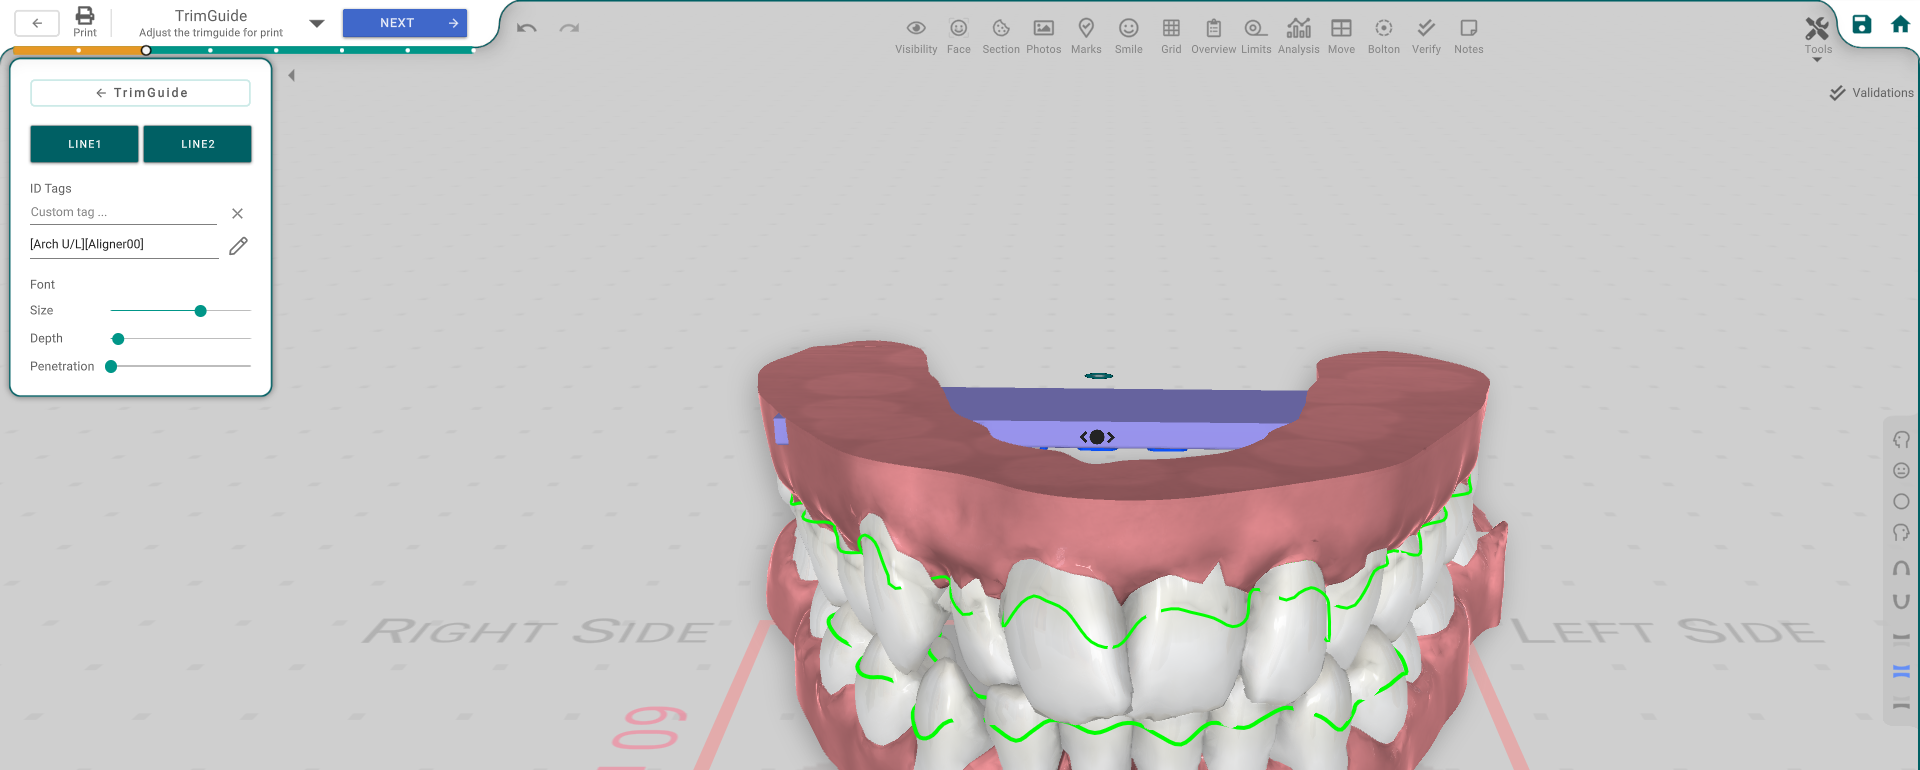
The panel, button by button
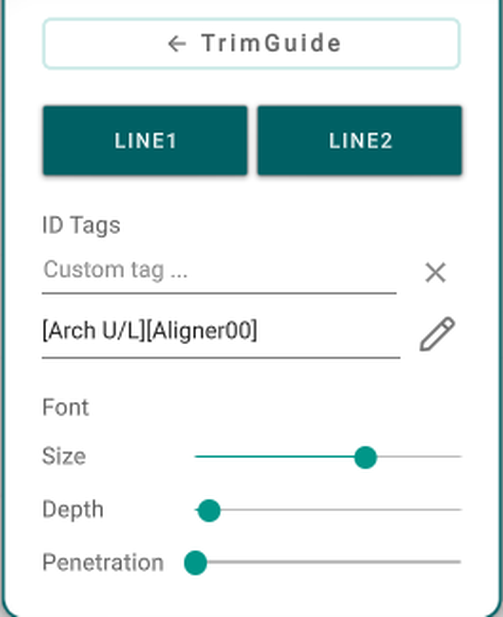
- TrimGuide (Back) — returns to the Trim Guide panel.
- Line 1 / Line 2 — switch between the guide's labels.
- Custom tag — free text for the label; the × clears it.
- ID Tags (pencil) — choose which fields (like the patient or step) are included in the printed tag. The printed text combines the custom tag and the ID tags.
- Font — Size / Depth / Penetration — how big and deep the label is embossed.