Block-out Splines
A block-out spline is a ridge added along the gum line to block out an undercut so the aligner seats cleanly. When you select a placed block-out spline in the Attachments step, its own panel opens: the teeth it spans, the spline's size, per-anchor tweaks, the aligner range, and how it is drawn. What block-out is for clinically is covered in the manual; this page is about running the panel.
Open it
In the 3D View, go to the Attachments step and select a block-out spline. The Block-out Spline panel follows the selected spline.
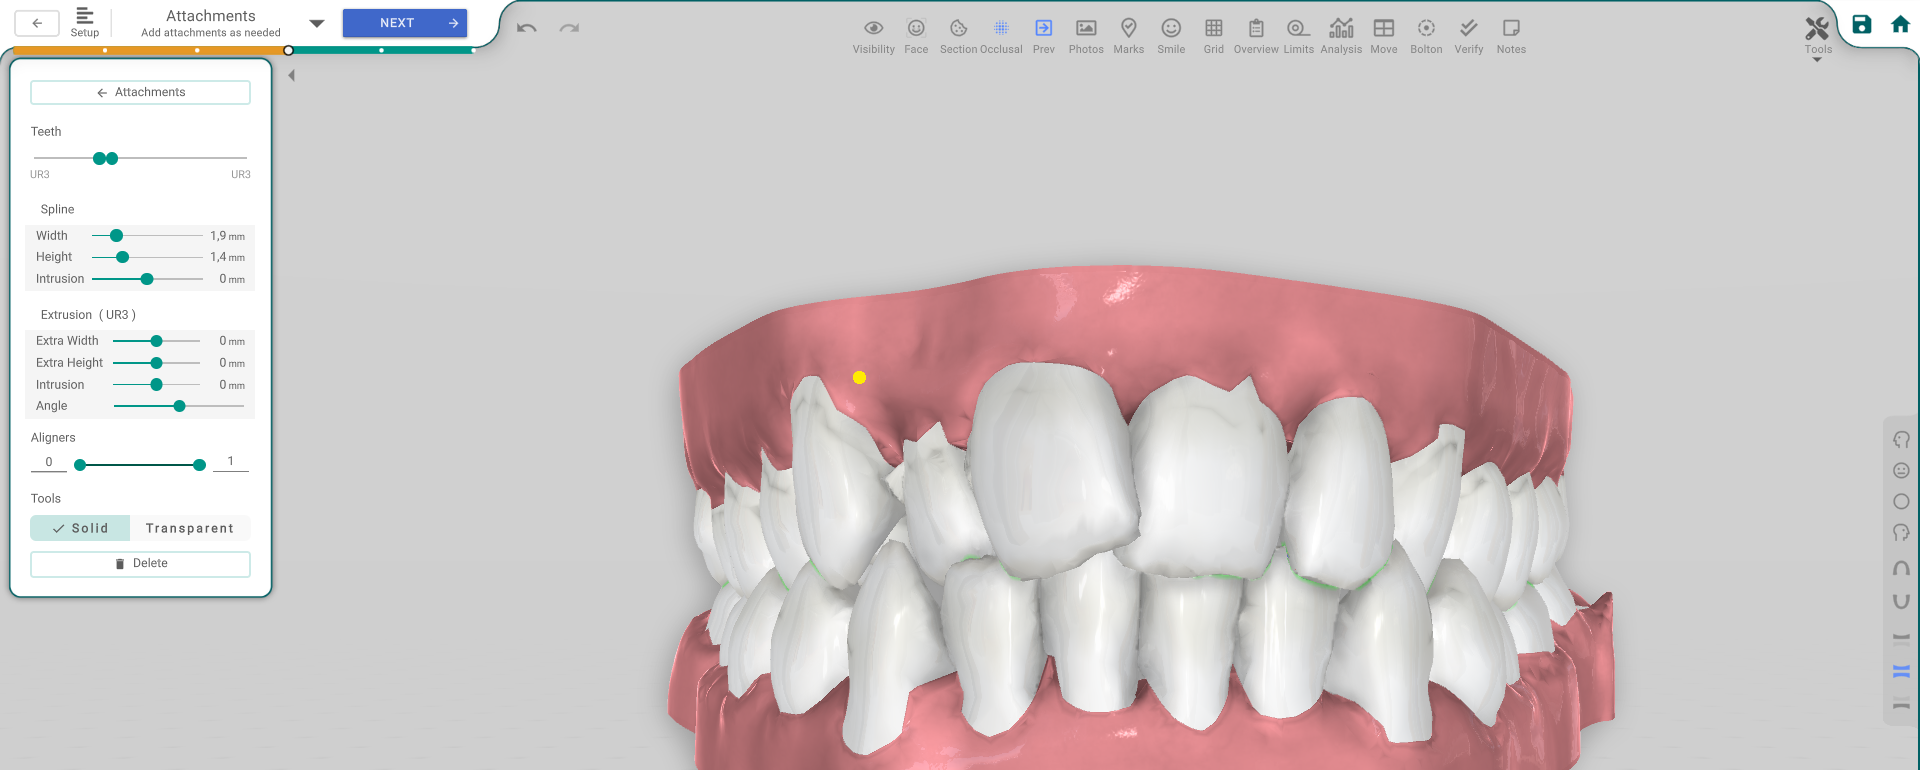
The panel, button by button
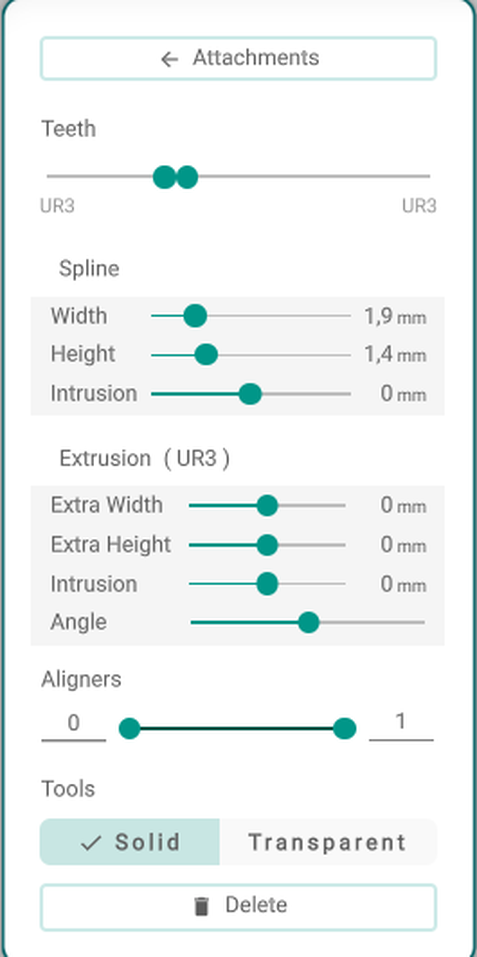
- Attachments (Back) — returns to the Attachments panel.
- Teeth — the range slider sets which teeth the block-out spans.
- Spline — Width / Height / Intrusion — the overall size.
- Extrusion — Extra Width / Extra Height / Intrusion / Angle — tweaks the currently selected anchor on the spline. Pick an anchor on the spline first.
- Aligners — the range the block-out is present for.
- Solid / Transparent — how the block-out is drawn in the viewer — this only changes the look, not the shape.
- Delete — removes the block-out (or the Delete key, unless you're typing in a field).
Good to know
- The Spline and Anchor sliders grey out while the attachment is locked.
- The controls are greyed out without the treatment-edit permission.